August 7, 2023·TauriAnalytics
How to track analytics in Tauri apps
We’ll explore how you can integrate analytics into a Tauri app using Astrolytics’ desktop SDK

In the modern development landscape, data is gold. As developers, we're not just crafting applications – we're crafting experiences. And to truly refine and perfect that experience, it's pivotal to understand user beh…

okay, no more GPT-3 marketing nonsense. If you’re looking to track your users behaviour through your application and other core metrics, check this short tutorial on how to integrate analytics into Tauri apps with Astrolytics.io.
To start, you will first need to create a new Tauri application. Accomplishing this is as simple as running the following command in your terminal:
npm create tauri-app@latest
Once you have successfully set up your new Tauri app, the next step is to install the Astrolytics desktop SDK. This SDK works seamlessly with both Electron and Tauri. To install it, use the following yarn command:
yarn add astrolytics-desktop
With the Astrolytics desktop SDK installed, you can now initialize it at the entry point of your frontend app. If you're using React for your frontend, this would typically be in your
main.jsx file. Below is an example of how to accomplish this:// src/main.jsx import React from 'react'; import { invoke } from '@tauri-apps/api'; import Astrolytics from 'astrolytics-desktop'; import ReactDOM from 'react-dom/client'; import App from './App'; import './styles.css'; Astrolytics.init('APP_ID'); ReactDOM.createRoot(document.getElementById('root')).render( <React.StrictMode> <App /> </React.StrictMode>, );
Please note that
APP_ID should be replaced with your own app id, which can be obtained from the Astrolytics dashboardWith the SDK initialized, you're now ready to start tracking events. With just this basic setup you’ll be tracking active users, sessions, screens and more. But if you’d like to track custom events, you can do that in Astrolytics by invoking the
track method as shown below:import Astrolytics from 'astrolytics-desktop'; ... <button onClick={() => Astrolytics.track('click')} > click me! </button>
In order to ensure better accuracy in tracking, we recommend providing a device id when initializing the SDK. To make this easier, we've created a helpful Rust crate that can be found here.
To install the Rust crate, simply add
astrolytics-tauri-utils to your Cargo.toml file. Then, in your src-tauri/src/main.rs, add the following code to wrap the get_machine_id utility in a Tauri command:use astrolytics_tauri_utils::get_machine_id; // <-- import the utility function #[tauri::command] // <-- wrap the utility function in a tauri command fn get_device_id() -> tauri::Result<String> { get_machine_id() .map_err(|e| tauri::Error::from(e)) .map(Ok)? } fn main() { tauri::Builder::default() .invoke_handler(tauri::generate_handler![greet, get_device_id]) // <-- add the handler .run(tauri::generate_context!()) .expect("error while running tauri application"); }
You can now call the handler in your frontend using the following command:
import React from 'react';
import { invoke } from '@tauri-apps/api';
import Astrolytics from 'astrolytics-desktop';
import ReactDOM from 'react-dom/client';
import App from './App';
import './styles.css';

invoke('get_device_id').then((deviceId) => { // <-- we need to await the promise
  Astrolytics.init('64ceee22fae4ff6d90291cc0', { deviceId });
});

ReactDOM.createRoot(document.getElementById('root')).render(
  <React.StrictMode>
    <App />
  </React.StrictMode>,
);
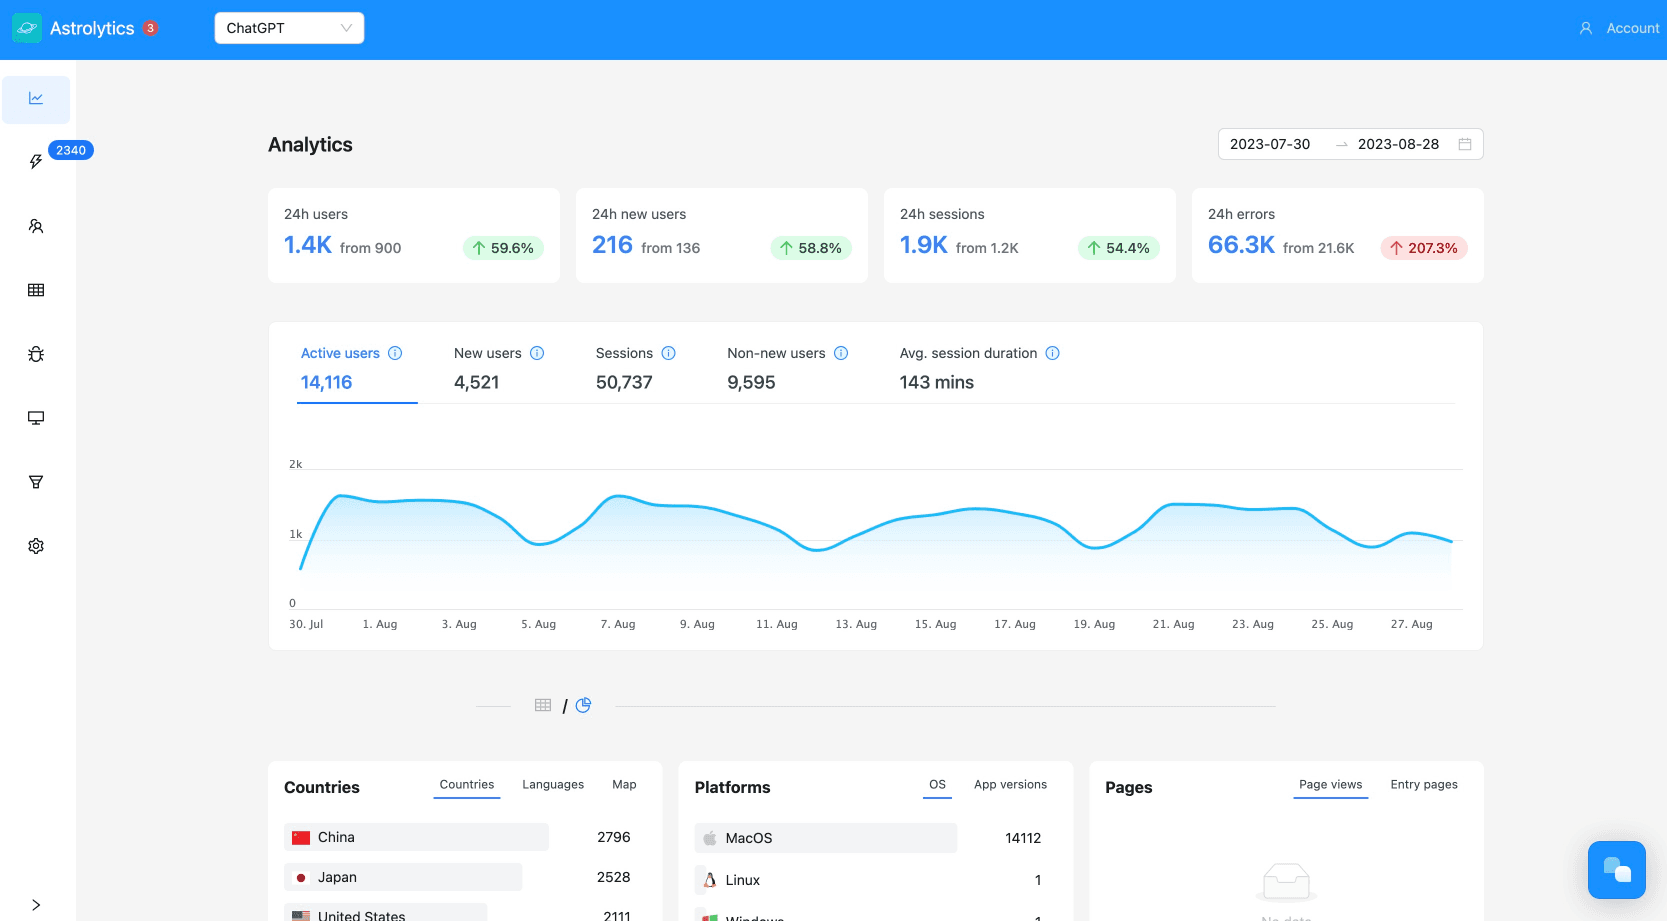
That’s it! As you can see, integrating Astrolytics.io is pretty straightforward. With this basic setup, you'll be able to track:
- Active users
- New users
- Sessions
- User retention
- The pages your users see
- User data like operating system, language, devices, country
- Custom events by calling
Astrolytics.trackmethod
You can now better monitor how your users interact with your application and make data driven decisions.

